Getting Started with superMila
Learn how to sign in and complete your first-time setup to start using superMila's call screening service.
Last updated July 6, 2026
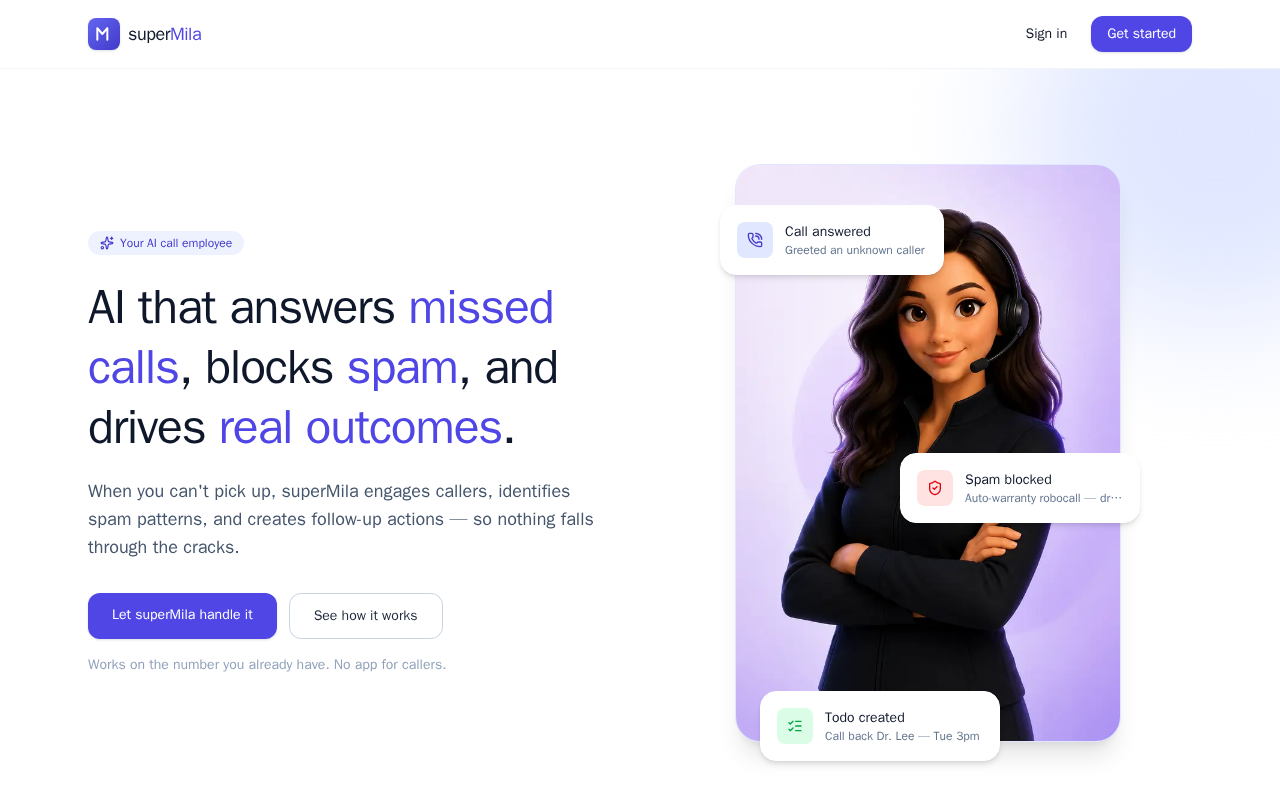
Welcome to superMila
superMila is a call screening service that answers forwarded calls on your behalf. This guide walks you through signing in for the first time and completing your account setup so you can get up and running quickly.
Step 1: Sign In to Your Account
To access superMila, navigate to the Sign In page. You'll see the Mila logo at the top along with a welcome greeting. From here, you have two ways to sign in:
- Quick Sign In – Use this option if you already have account credentials set up. Click the Quick Sign In button and follow the prompts.
- Email Sign In – Enter your email address and credentials directly into the sign-in form.
If you're already signed in, you'll be taken directly to your dashboard without needing to sign in again.
Once you're signed in, you'll be asked to agree to let Mila answer calls that you forward to her. This is required to use the call screening service.
Step 2: Complete the Onboarding Wizard (New Accounts Only)
If you're signing in for the first time as a new user, an Onboarding Wizard will appear automatically. This wizard walks you through the essential setup steps to personalize your account. You'll be asked to provide or confirm the following:
- Your real name – Enter your full name in the provided field.
- Personal phone number – Enter your number in any standard format.
- Mobile carrier – Select your carrier from a dropdown menu. This defaults to AT&T, but you can choose a different carrier if needed.
- Preferred language – Choose either English or Spanish from the dropdown.
- MILA Number – This field is optional and only applies if a MILA Number is relevant to your account. You can leave it blank if it doesn't apply to you.
Work through each step, entering your information and selecting your preferences as prompted. When you've finished the wizard, your information is saved securely and you'll be taken automatically to your dashboard.
Updating Your Information Later
Everything you set up during the Onboarding Wizard can be changed at any time. Head to your account settings to update your name, phone number, carrier, language preference, or MILA Number whenever you need to.